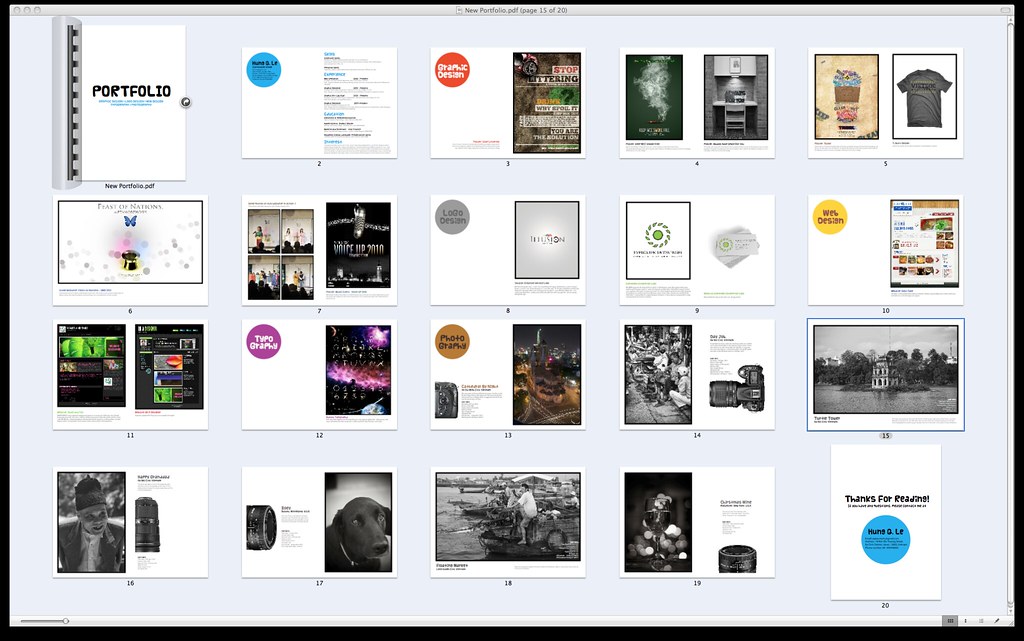
How to create a single pdf from photos in a folder? Here are 2 easy methods
To create a single PDF from multiple photos in a folder, you can use various software or online tools. Here’s a general step-by-step guide using two popular methods: using Adobe Acrobat and using an online tool called Smallpdf.
Method 1: Using Adobe Acrobat
- Install Adobe Acrobat on your computer if you haven’t already. You may need to purchase a license or use a trial version.
- Open Adobe Acrobat.
- Click on “Create” in the top toolbar and select “Combine Files into a Single PDF.”
- In the dialog box that appears, click on “Add Files” or “Add Folder” to select the photos you want to include in the PDF. You can select multiple files by holding down the Ctrl (Windows) or Command (Mac) key while clicking on the files.
- Arrange the photos in the desired order by dragging and dropping them within the file list.
- If needed, you can make adjustments to individual photos, such as rotating them or changing their order, using the options available.
- Once you’re satisfied with the file order and any adjustments, click on the “Combine” or “Create” button to generate the single PDF file.
- Choose a destination folder and specify a name for the PDF file, then click “Save.”
Method 2: Using tools available online
- Gather all the photos you want to include in the PDF in a single folder on your computer.
- Open a web browser and search for “image to PDF converter” to find an online tool that can convert your images to PDF. There are several reliable options available.
- Choose a suitable online image to PDF converter tool and navigate to its website.
- Once on the website, look for an option to upload or select files. Click on that option to browse and select the photos from the folder on your computer. Some tools allow you to select multiple files at once by holding down the Ctrl or Shift key while selecting.
- After selecting the photos, check if there are any additional settings or options you can adjust, such as page orientation, page size, or image compression. Make any desired changes.
- Once you’re ready, click on the “Convert” or “Create PDF” button to start the conversion process. This might take a few moments, depending on the number and size of the photos.
- After the conversion is complete, the website will typically provide a download link for the generated PDF file. Click on the link to download the PDF to your computer.
- Open the downloaded PDF file to verify that all the photos are included and arranged as desired.
It’s important to note that the specific steps may vary slightly depending on the online tool you choose. Some websites may have more advanced features or require you to create an account. Additionally, if you prefer to use offline software, there are also desktop applications available that can perform the same task.
These methods should help you create a single PDF file from multiple photos in a folder. Remember to check the specific instructions for the software or online tool you choose, as they may have slight variations in the steps.


